This guide describes how to integrate Resolve into your Shopify e-commerce platform so that you can provide Net Terms as a payment option to your customers.
Shopify / Shopify Plus? Our integration works with both. For ease of reference, we'll refer to both as 'Shopify'.
After integrating Resolve, your Shopify shop will:
- Offer Net Terms as a payment option on the checkout page
- This payment option also surfaces a link to your buyer application
- Process Resolve payments in your order management system
The integration steps are:
- Retrieve keys
- Install the extension for Shopify
- Link your Shopify shop to your Resolve Pay account
- Configure Resolve as a payment method
- Review your order management functions
- Test your integration
- Go live with Resolve
Before beginning integration, you should review the following:
- Resolve Shopify integration
- The online transaction flow when buying with Resolve
- Your current checkout process to understand how Resolve will affect operations and customer experience
Install the extension and leverage Shopify Test Mode before pushing it live. The integration will not operate with Resolve sandbox accounts.
Your Merchant ID and Secret Key are available in your merchant dashboard. Just go to the Settings tab then choose "Integrations" from the sub-tabs. Your Merchant ID and Secret Key are under the "Direct API" section. Be sure you're logged into your production dashboard to retrieve these credentials. The Resolve Shopify integration will not connect to Resolve sandbox.
- Ensure that your Business website within Settings > Account details > Public business information is set to your Shopify storefront.
- Install the Resolve for Shopify app via the Shopify app store or your dashboard integrations page — please reach out to your Account Manager if this latter option is not available.
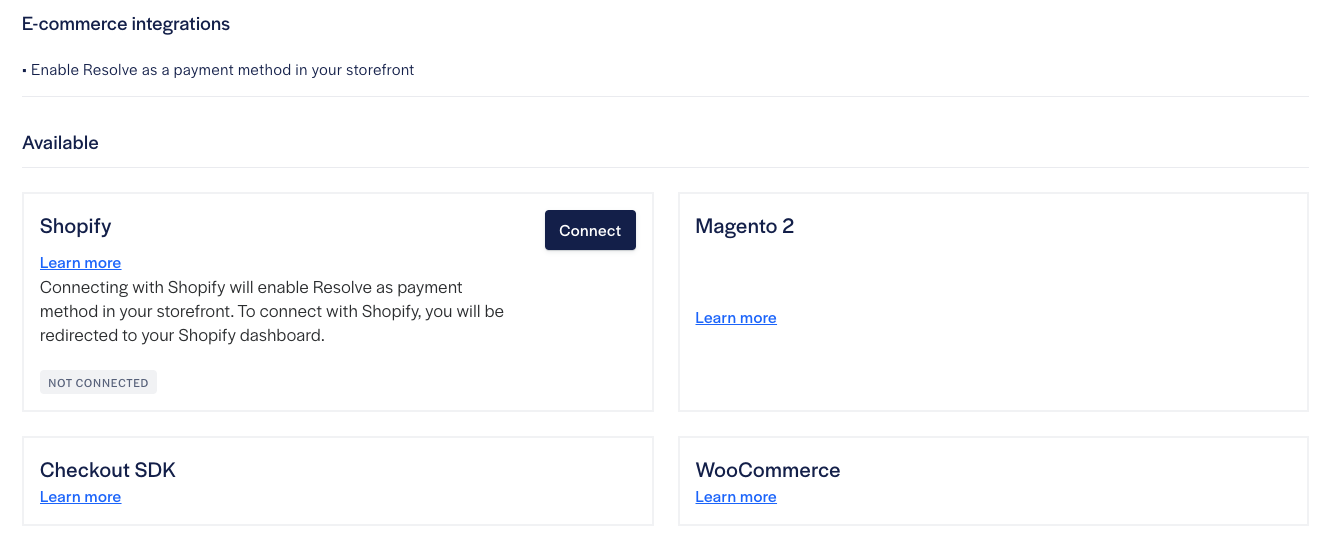
You'll need to link your Shopify shop to your Resolve account, from within your Shopify dashboard.
Navigate to the Resolve Pay app settings and enter your Merchant ID and Secret Key.
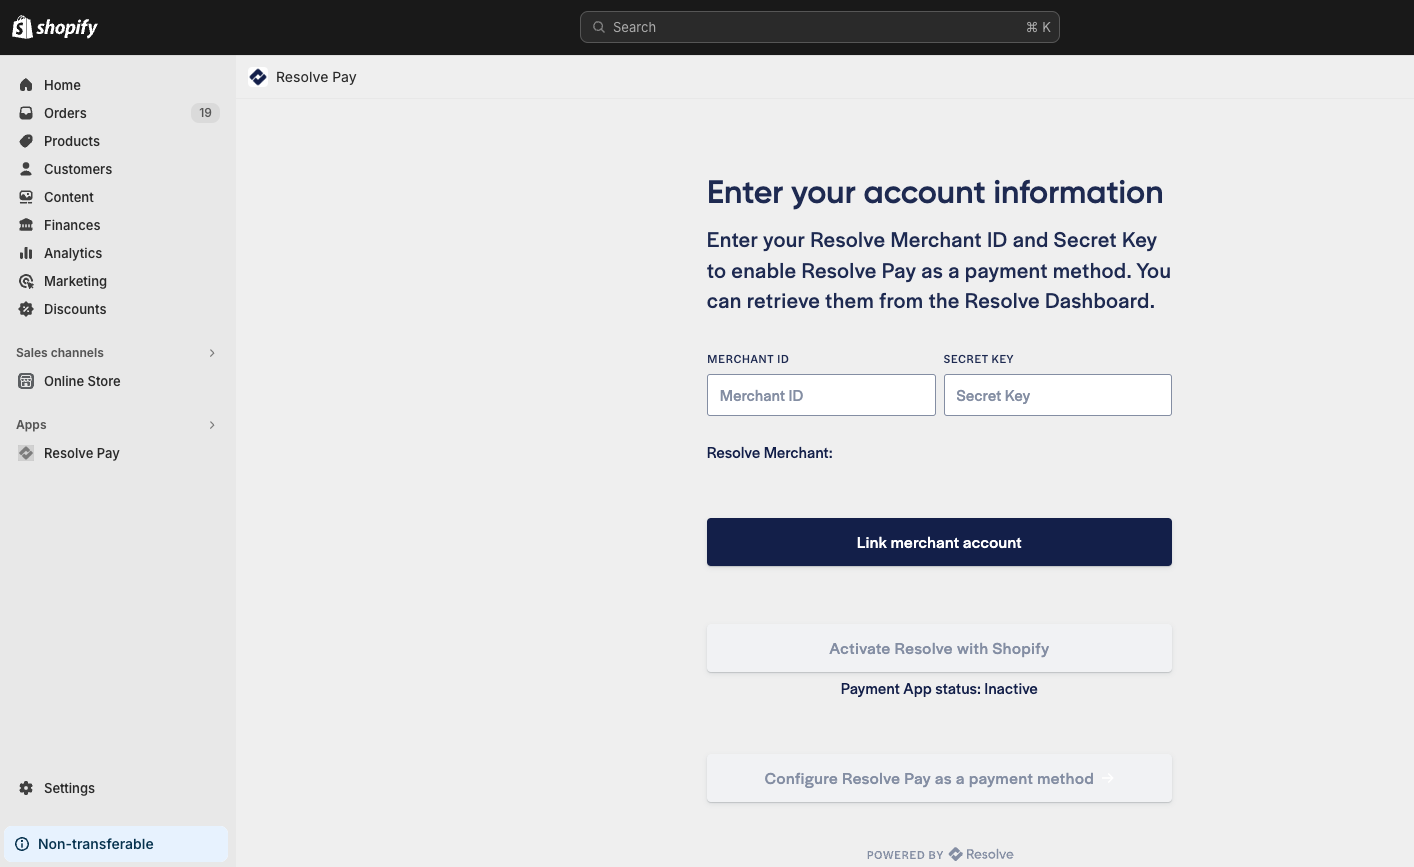
Click 'Link merchant account'.
Click 'Activate Resolve with Shopify'.
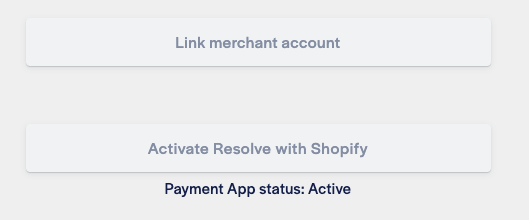
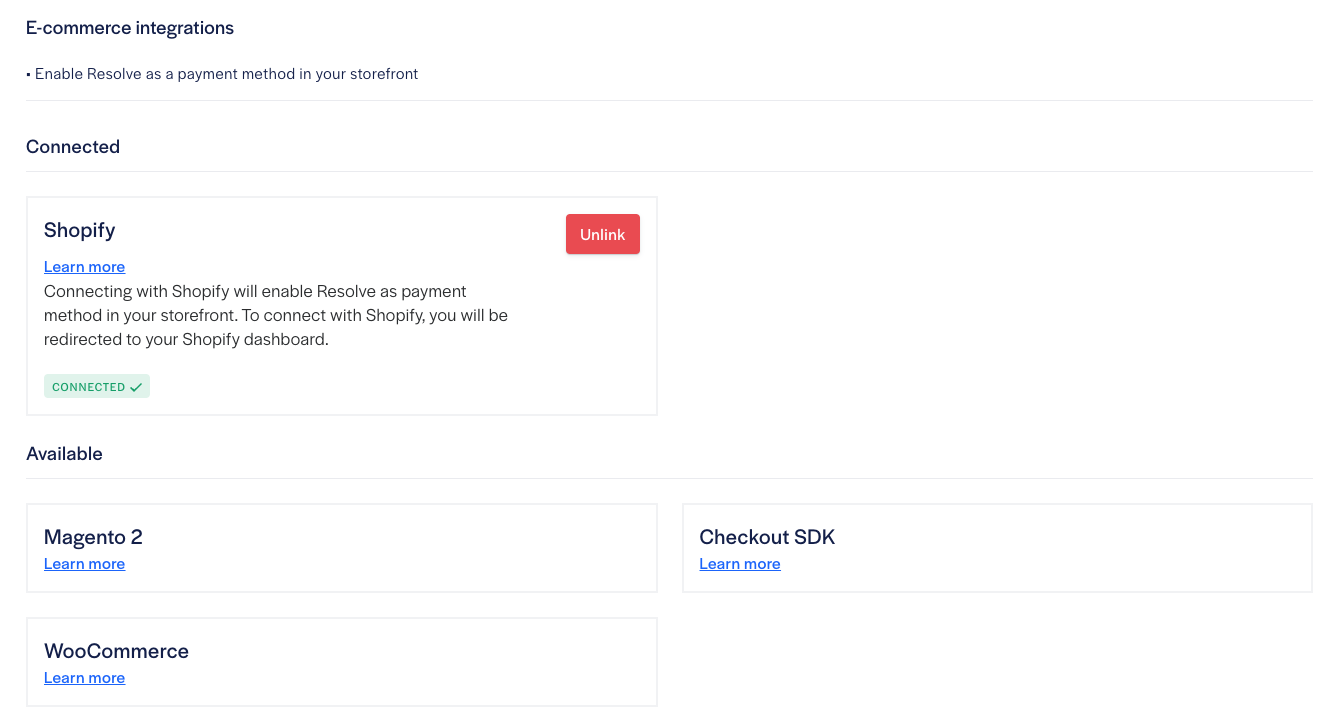
Click 'Configure Resolve Pay as a payment method' to be taken to the next step.
After installing the extension, you may click 'Configure Resolve Pay as a payment method'. This will navigate you to a menu where you can enable Test Mode or deactivate the application.
Processing an order in Shopify (capture, cancel, refund, partial refund) updates the corresponding invoice in your Resolve dashboard.
Refunds must always be initiated from Shopify. Shopify owns the order, and Resolve has no way to push a refund back to it. Issuing a credit note directly in Resolve on a Shopify-sourced invoice is blocked for this reason — see Refunds.
Capture timing is controlled by the Invoice Capture Mode setting in the Resolve Pay app settings in your Shopify dashboard:
| Mode | When Resolve captures the invoice | Requires |
|---|---|---|
| Shopify (default) | Follows Shopify's own Payment capture method setting (Settings > Payments) | — |
| Capture on Fulfillment | On the first fulfillment created in Shopify | Resolve Sync App with fulfillment webhooks enabled |
| Manual Capture | When you capture the invoice from your Resolve dashboard | — |
Note: These are two independent settings. Shopify's Payment capture method controls when the order is captured in Shopify — Resolve's Invoice Capture Mode has no influence on that. Resolve's setting only controls when the invoice is captured on the Resolve side.
The mode you choose changes more than capture timing. Capture on Fulfillment and Manual Capture deliberately capture after Shopify does, which also changes how a cancellation in Shopify is applied to the invoice, prevents partial refunds before capture, and stops Shopify Test Mode from preventing a real capture. Read Invoice Capture Mode and Cancelling, voiding and refunding before changing it.
Connect with your Resolve Account Manager to access a test buyer (ie. test buyer credentials) associated with your merchant account.
Enable 'Test mode' from within the Resolve Pay app settings in the Shopify dashboard.
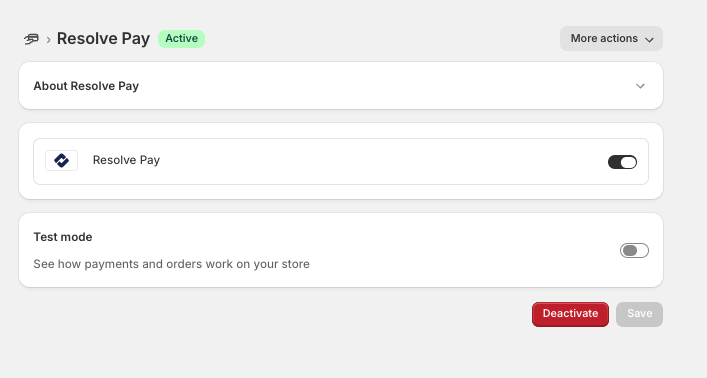
- Review Shopify's documentation on test orders. Make sure test mode is enabled for Resolve Pay.
- Add items to your cart and proceed to checkout.
- Select 'Pay with Net Terms' as the payment option.
- Proceed to checkout and use the test buyer credentials to login to Resolve and confirm an order.
- Verify that you land on the order confirmation page and that your order has been created in Shopify.
- View your order within the Resolve dashboard. Open the invoice and select the Checkout events tab to confirm which requests Shopify sent and how Resolve applied them — see Checking what Resolve received.
Warning: Test Mode only prevents money movement in the default capture mode.
Shopify marks test orders with a test flag on the payment requests it sends Resolve, and Resolve uses that flag to skip the capture or refund. This works whenever the capture comes from Shopify — that is, when Invoice Capture Mode is Shopify (default).
Capture on Fulfillment and Manual Capture do not capture from a Shopify payment request. They capture from a fulfillment webhook or from your Resolve dashboard, neither of which carries the test flag, so Resolve cannot tell a test order from a real one. The capture is real: the invoice is sent to the buyer and funds move. Refunding that order in Shopify will not undo it, because the refund request is flagged as a test and is skipped — leaving a live invoice you have to cancel or credit manually in Resolve.
Test your integration with Invoice Capture Mode set to Shopify (default). Switch to a deferred capture mode only after go-live, and validate it with a real low-value order you are prepared to settle. Contact your Account Manager if you need help validating a deferred mode.
If you're using Shopify B2B features such as company accounts, refer to Shopify B2B for important details when installing the Resolve Pay app.
Disable test mode within the Resolve Pay application settings in the Shopify dashboard and you're ready to go!